
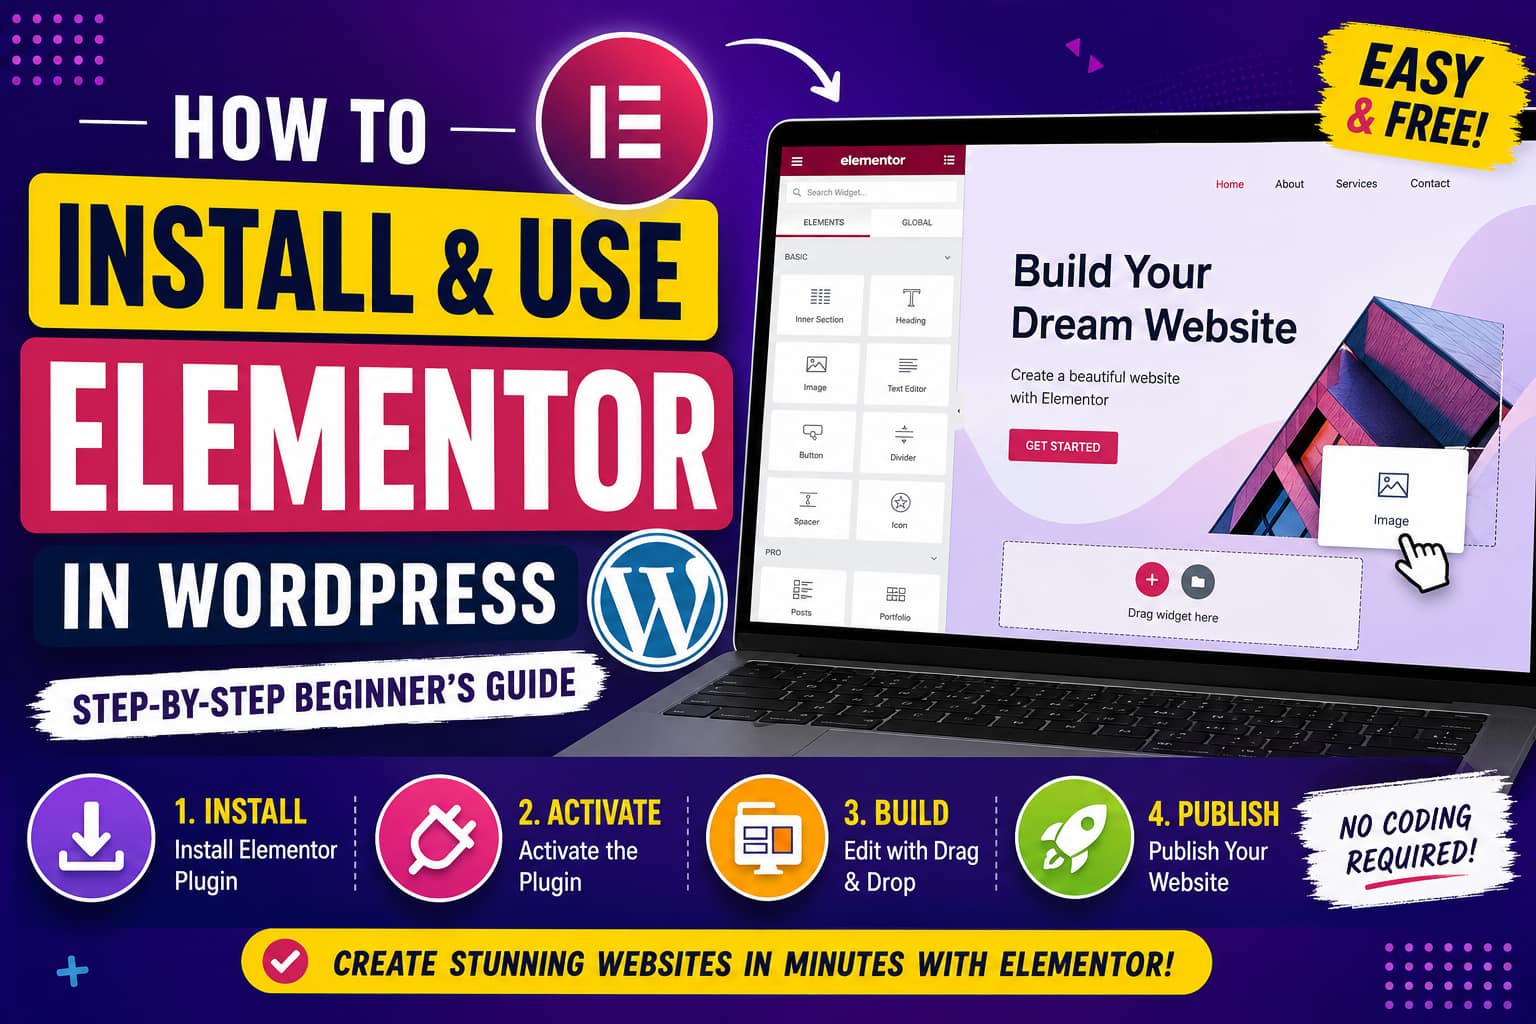
If you are new to WordPress and want to create professional-looking pages without writing complicated code, Elementor is one of the easiest tools to learn. It provides a visual, drag-and-drop editing experience that lets you design pages while seeing the changes in real time.
In this beginner-friendly guide, you will learn how to install Elementor, activate it, create your first page, use widgets, customize layouts, make your page mobile-friendly, and publish your design.
Updated for 2026: WordPress and Elementor interfaces can change over time, so some button names or screen layouts may look slightly different on your website.
Install and Use Elementor in WordPress

What Is Elementor?
Elementor is a WordPress website builder that allows you to design pages visually instead of manually writing HTML and CSS. You can add headings, paragraphs, images, buttons, videos and other elements using a drag-and-drop editor.
Elementor offers a free version called Elementor Core, while paid versions add more advanced design and website-building features. The free version is enough to learn the basics and create many types of pages. (Elementor)
With Elementor, you can create:
- Business websites
- Blogs
- Landing pages
- Portfolio websites
- Service pages
- Product pages
- Personal websites
- Marketing pages
Why Should Beginners Use Elementor?
Traditional WordPress editing can sometimes feel confusing when you want precise control over the design. Elementor simplifies the process by providing a visual editor.
Some of its main advantages include:
1. Drag-and-Drop Editing
You can drag widgets from the Elementor panel and place them on your page.
2. Live Preview
You can see your design while editing instead of repeatedly switching between the editor and the website.
3. No Coding Required
Beginners can create attractive layouts without learning HTML or CSS first.
4. Responsive Design
Elementor lets you adjust designs for desktop, tablet and mobile devices.
5. Templates
You can start with a pre-designed template instead of building every page from an empty canvas.
Elementor’s current free builder includes drag-and-drop editing, widgets, landing-page functionality and the Hello Theme. (Elementor)
What You Need Before Installing Elementor
Before starting, make sure you have:
- A working WordPress website
- Access to your WordPress administrator dashboard
- A WordPress administrator account
- A stable internet connection
- A page you want to design
If WordPress is already installed, you can go directly to the Elementor installation process.
Step 1: Log In to Your WordPress Dashboard
First, open your WordPress administration area.
Usually, you can access it by visiting:
yourdomain.com/wp-admin
Enter your WordPress username and password and click Log In.
Once you are inside the dashboard, you will see the WordPress administration menu on the left side.
Step 2: Open the WordPress Plugin Section
From your WordPress dashboard:
Plugins → Add New Plugin
The Add Plugins screen allows you to search for plugins available through the WordPress plugin directory.
Elementor’s official installation instructions use this same process. (Elementor)
WordPress Add Plugins Screen


Screenshot description: This screen shows the WordPress plugin area where you can search for and install Elementor.
Step 3: Search for Elementor
On the Add Plugins page, find the search box.
Type:
Elementor Website Builder
Look for the official Elementor plugin.
According to Elementor’s documentation, the free plugin appears as Elementor Website Builder. (Elementor)
Be careful when selecting plugins. For the standard Elementor installation, make sure you select the official Elementor Website Builder plugin rather than an unrelated third-party plugin.
Step 4: Click Install Now
After finding the correct Elementor plugin, click:
Install Now
WordPress will download and install the plugin automatically.
Wait for the installation to finish.
The button will normally change from Install Now to Activate when installation is complete. (Elementor)
Install Elementor


Screenshot description: The Elementor Website Builder plugin appears in WordPress with the Install Now button.
Step 5: Activate Elementor
After installation, click:
Activate
This enables Elementor on your WordPress website.
Once activated, Elementor can be used when creating or editing compatible WordPress pages.
Activate Elementor


Screenshot description: After installation, the Install Now button changes to Activate.
Step 6: Create an Elementor Account
After activation, Elementor may provide setup options, including the option to create or connect an Elementor account.
Creating an account can provide access to features such as the Template Library. Elementor also allows users to skip account creation if they do not want to create an account at that point. (Elementor)
You may see options such as:
- Continue with Google
- Continue with Apple
- Continue with Facebook
- Continue with email
- Skip
Choose the option that works for you.
For beginners who want to explore templates, creating an Elementor account can be useful.
Step 7: Choose a Theme
Your WordPress website needs a theme.
Elementor offers the Hello Theme, a lightweight theme designed to work closely with Elementor. Elementor recommends Hello Theme for users who manually install Elementor and want a flexible starting point. (Elementor)
However, you do not necessarily have to change your existing theme.
If your current theme already works well with Elementor, you can continue using it.
When should you use Hello Theme?
Hello Theme can be a good choice if:
- You want to design most of the website yourself.
- You prefer a minimal theme.
- You want Elementor to control much of the visual design.
- You are creating a new website from scratch.
Step 8: Create Your First Elementor Page
Now let’s create a simple page.
Go to:
Pages → Add New
Give your page a name.
For example:
Home
Then look for the Elementor editing option.
Depending on your current WordPress and Elementor interface, you may see a button such as:
Edit with Elementor
Click it.
Elementor’s own tutorials describe this workflow: create a new WordPress page and open it with Elementor. (Elementor)
Edit With Elementor


Screenshot description: A WordPress page is opened and the Edit with Elementor option is selected.
Step 9: Understand the Elementor Editor
When Elementor opens, you will enter the visual editor.
Although the interface may look complicated initially, the basic concept is simple.
You generally work with:
- The widget panel
- The page canvas
- Layout/container controls
- Style settings
- Advanced settings
- Responsive controls
Elementor Editor Interface


Screenshot description: The Elementor editor shows the widget panel alongside the live page preview.
Step 10: Add a Heading
Let’s create a simple homepage.
Find the Heading widget in the Elementor panel.
Drag it onto your page.
For example, enter:
Welcome to Our Website
You can then change:
- Text
- Alignment
- Font size
- Font family
- Color
- Spacing
- Typography
The important thing to remember is that Elementor lets you edit the content and appearance visually.
Step 11: Add Text
Next, drag the Text Editor widget underneath your heading.
You could write something like:
We help businesses create modern websites, improve their online presence and connect with customers.
You can format the text using the available controls.
Try to keep your introductory paragraph short and easy to read.
Step 12: Add an Image
To add an image:
- Search for the Image widget.
- Drag it onto the page.
- Select an image from your Media Library.
- Upload a new image if necessary.
- Adjust its size and alignment.
You can also add appropriate alternative text to improve accessibility and help search engines understand the image.
Adding an Image


Step 13: Add a Button
A button is useful for directing visitors to another page.
Drag the Button widget onto your page.
For example:
Learn More
Then enter the destination URL.
You can customize:
- Button text
- Link
- Alignment
- Size
- Typography
- Border
- Hover effects
For a business website, useful buttons might include:
- Contact Us
- Get Started
- View Services
- Learn More
- Buy Now
Step 14: Customize Your Design
Elementor provides different customization areas.
You will commonly see options such as:
Content
This controls what the widget displays.
Style
This controls the appearance.
For example:
- Text color
- Background
- Typography
- Border
- Shadow
- Alignment
Advanced
This can be used for more detailed controls such as:
- Margin
- Padding
- Positioning
- Responsive behavior
- CSS-related settings where available
For beginners, start with Content and Style. Learn Advanced settings gradually.
Step 15: Understand Sections, Containers and Widgets
One important Elementor concept is understanding how page elements are organized.
A simple way to think about your page is:
Page → Layout/Container → Widgets
Widgets are the actual elements visitors see, such as:
- Heading
- Text
- Image
- Button
- Video
- Icon
The exact layout terminology and editor structure can vary between Elementor versions and configurations, so follow the structure displayed in your current editor.
Step 16: Create a Simple Homepage
Let’s build a basic homepage.
Hero Area
Add:
Heading:
Create a Better Website With WordPress
Text:
Build a modern online presence with a simple visual website-building workflow.
Button:
Get Started
Services Area
Add three columns or containers containing:
Website Design
Create attractive pages for your business.
SEO Services
Improve your website’s visibility in search engines.
Support
Get help maintaining and improving your website.
About Section
Add an image on one side and text on the other.
Contact Section
Finish the page with a call-to-action such as:
Ready to Start?
Then add a Contact Us button.
Step 17: Use Elementor Templates
If you don’t want to start from a blank page, you can use a pre-designed template or website kit when available.
Templates can save time because the basic structure is already designed.
Instead of creating:
- Header
- Hero section
- Services
- About section
- Contact section
from scratch, you can start with an existing design and customize the content.
Elementor’s setup process allows users to start from a blank canvas or use professionally designed templates. (Elementor)
Elementor Templates


Step 18: Make Your Page Mobile-Friendly
A website should look good on:
- Desktop
- Tablet
- Mobile
Don’t design only for a large computer screen.
Elementor provides responsive editing controls that allow you to adjust designs for different screen sizes.
For example, you might reduce:
Desktop heading: 60px
to:
Mobile heading: 36px
The exact values depend on your design.
Check These Mobile Elements
Before publishing, inspect:
- Heading size
- Paragraph width
- Button size
- Image dimensions
- Padding
- Margins
- Column/container layout
- Navigation
- Spacing
Responsive Editing


Step 19: Preview Your Page
Before publishing, preview the page.
Check it from the visitor’s perspective.
Look for:
- Spelling mistakes
- Broken links
- Poor spacing
- Incorrect images
- Mobile layout problems
- Missing buttons
- Slow-loading media
If everything looks good, continue to the next step.
Step 20: Publish Your Page
When you are satisfied with your design, click the Publish option.
Your Elementor page will then become available according to your WordPress publishing settings.
Always preview your website after publishing to make sure everything looks correct on the live site.
Elementor Free vs Elementor Pro
Elementor is available in free and paid versions.
| Feature | Elementor Free | Elementor Pro |
|---|---|---|
| Visual editor | Yes | Yes |
| Drag-and-drop editing | Yes | Yes |
| Basic widgets | Yes | Yes |
| Basic templates | Yes | Yes |
| Responsive editing | Yes | Yes |
| Advanced widgets | Limited | More |
| Theme Builder | Limited/varies | Yes |
| Popup tools | Limited/varies | Advanced |
| Advanced marketing features | Limited | More |
| WooCommerce design tools | Limited | More |
Elementor describes Pro as an extension of the free version that adds additional widgets and professional tools. (Elementor)
Do You Need Elementor Pro?
No, not necessarily.
If you are learning WordPress or creating a simple website, the free version can be a good starting point.
Consider Pro when you need advanced website-building, marketing, theme-building or eCommerce capabilities.
Common Elementor Beginner Mistakes
1. Installing Too Many Add-ons
Beginners sometimes install many Elementor add-ons because they want more widgets.
Avoid adding unnecessary plugins.
Every additional plugin can increase maintenance requirements and may create compatibility issues.
2. Ignoring Mobile Design
A page that looks perfect on a desktop can look poor on a phone.
Always check the responsive version.
3. Using Huge Images
Large, unoptimized images can make pages slower.
Before uploading images, resize and compress them appropriately.
4. Using Too Many Fonts
A professional website usually benefits from a consistent typography system.
Choose a small number of fonts and use them consistently.
5. Adding Too Many Animations
Animations can make a website more attractive, but excessive movement can distract visitors and affect the user experience.
Use effects where they provide a genuine design benefit.
How to Fix Common Elementor Problems
Elementor Editor Will Not Load
Try:
- Clear browser cache.
- Update WordPress.
- Update Elementor.
- Check plugin compatibility.
- Temporarily disable unnecessary plugins.
- Check your hosting resources.
If the problem started after installing another plugin, that plugin could be causing a conflict.
Elementor Page Looks Different After Publishing
Check:
- Browser cache
- WordPress caching
- Elementor-generated CSS/cache
- Theme settings
- Responsive settings
Then preview the page again.
Elementor Is Slow
Try reducing:
- Large images
- Unnecessary widgets
- Excessive animations
- Unused plugins
- Heavy third-party scripts
A lightweight theme and carefully optimized media can also help.
Elementor SEO Tips
Elementor itself is a design tool, but your page still needs good SEO practices.
Use One Main H1
Your page should normally have a clear primary heading.
Use Proper Heading Structure
Organize content using:
H1 → H2 → H3
Don’t use heading tags only because they look visually attractive.
Optimize Images
Use descriptive file names and appropriate alt text.
Improve Page Speed
Compress images and avoid unnecessary scripts and plugins.
Write Useful Content
Design alone does not guarantee search rankings. Your content should answer the visitor’s search intent.
Create Internal Links
Link relevant pages together so users and search engines can discover related content.
Should Beginners Use Elementor?
Yes. Elementor can be a practical choice for beginners because its visual editing system reduces the need to write code for common page designs.
You can start with the free version, learn the interface, build a few pages and decide later whether you need advanced features.
Elementor’s official documentation recommends starting with the core plugin and then optionally adding Pro features if you need them. (Elementor)
Frequently Asked Questions
Is Elementor free?
Yes. Elementor provides a free website builder for WordPress. Paid options provide additional features and tools. (Elementor)
Do I need coding knowledge to use Elementor?
No. Basic Elementor page building can be performed using its visual drag-and-drop editor.
Can I use Elementor with an existing WordPress website?
Yes. Elementor is designed to work with WordPress websites and can be installed through the WordPress plugin system. (Elementor)
Do I need Elementor Pro?
No. You can start with the free version. Pro becomes useful when you need additional advanced features.
Can I create a complete website with Elementor Free?
Yes. Elementor states that its free builder can be used to create websites, landing pages and other designs. (Elementor)
Can I use Elementor on mobile?
You can use Elementor’s responsive editing controls to design how your website appears on mobile devices. For actual website editing, however, a desktop or laptop generally provides a much more comfortable experience.
Can I change my WordPress theme after installing Elementor?
Yes, but changing themes can affect styling and layouts. Always make a backup before making major website changes.
Final Thoughts
Installing Elementor in WordPress is straightforward: install the Elementor Website Builder plugin, activate it, create a page, open it with Elementor, and start designing with widgets.
The best way to learn Elementor is to build a real page rather than trying to memorize every feature. Start with a simple homepage containing a heading, paragraph, image and button. Once you understand those basics, move on to responsive design, templates, advanced layouts and other features.
If you are building a new website, start small, keep your design consistent, optimize images and test every page on mobile before publishing.
For the most current installation instructions, Elementor’s official documentation recommends Plugins → Add New Plugin → search for “Elementor Website Builder” → Install Now → Activate. (Elementor)
Official Elementor Resources
Elementor Getting Started Guide