

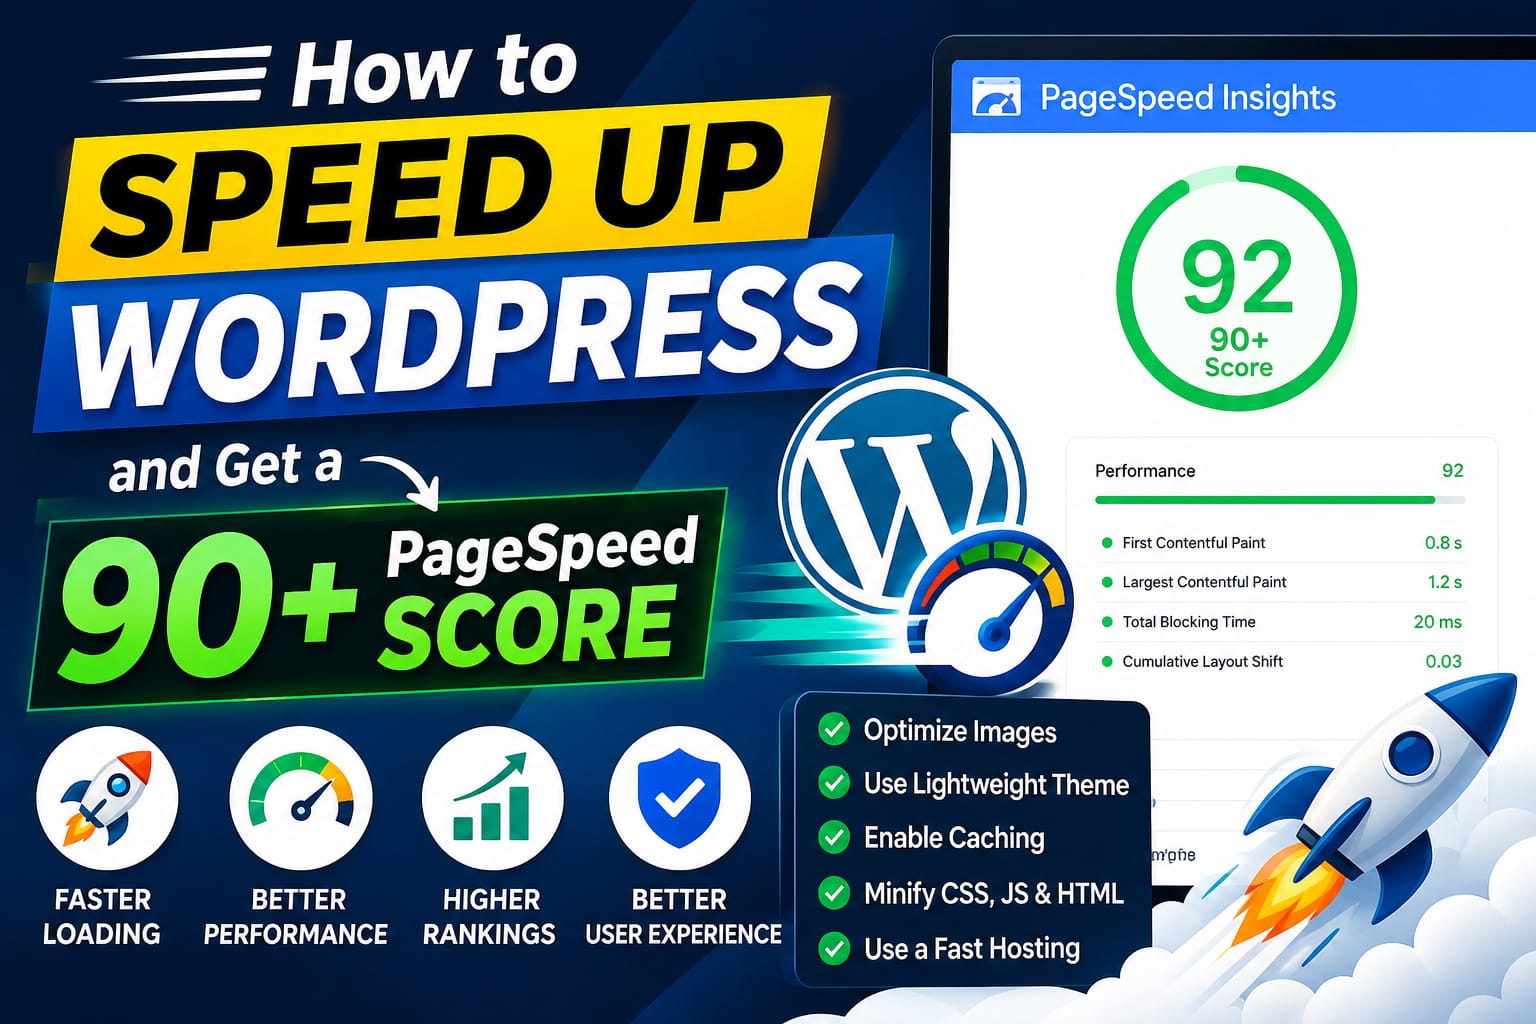
A fast WordPress website is important for user experience, conversions, and search performance. Google PageSpeed Insights provides a performance score and reports technical issues that can affect loading speed. However, a 90+ score should not be the only goal—you should also focus on real-world Core Web Vitals and how quickly visitors can use your website.
The good news is that many WordPress speed improvements can be implemented for free. You do not necessarily need expensive optimization services or premium plugins.
This guide explains a practical, beginner-friendly process for improving WordPress performance and working toward a 90+ PageSpeed score without spending money.
What Is Google PageSpeed Insights?
Google PageSpeed Insights is a free tool that analyzes a web page and provides performance information for both mobile and desktop experiences.
It provides diagnostic information about areas such as:
- Loading performance
- Image optimization
- JavaScript and CSS
- Server response
- Render-blocking resources
- Caching
- Core Web Vitals
- Accessibility and best practices
You can test your website using Google PageSpeed Insights.
A useful approach is to test your website before making changes, record the results, make one group of improvements, and test again.

PageSpeed Score vs. Core Web Vitals
One common mistake is trying to achieve a perfect PageSpeed number while ignoring actual user experience.
Important Core Web Vitals include:
Largest Contentful Paint (LCP)
LCP measures how quickly the main visible content loads.
A good LCP target is 2.5 seconds or less.
Large hero images, slow hosting, render-blocking CSS, and excessive JavaScript can increase LCP.
Interaction to Next Paint (INP)
INP measures how responsive a page is when users interact with it.
A good target is 200 milliseconds or less.
Too much JavaScript can make WordPress pages slow to respond.
Cumulative Layout Shift (CLS)
CLS measures unexpected movement of page elements while loading.
A good CLS target is 0.1 or less.
For example, if an image loads without defined dimensions and pushes your text downward, the page can experience layout shift.
Google’s performance guidance and WordPress documentation emphasize that caching, optimized content, hosting, plugins, and configuration all influence WordPress performance. (WordPress Developer Resources)
Step 1: Test Your Website Before Optimization
Before changing anything, run your most important pages through PageSpeed Insights.
Test at least:
- Homepage
- A blog post
- A category page
- A major landing page
- A product page if you run WooCommerce
Record:
- Mobile score
- Desktop score
- LCP
- INP
- CLS
- TTFB
- Largest image
- JavaScript warnings
- CSS warnings
- Image warnings
Do not optimize based on the score alone. Look at the specific problems reported by the test.
Step 2: Choose Lightweight WordPress Hosting
Hosting is one of the biggest factors affecting WordPress speed.
A heavily optimized website can still perform poorly if the server is slow or overloaded.
Look for hosting that provides:
- Modern PHP versions
- SSD or NVMe storage
- Server-side page caching
- HTTP/2 or HTTP/3
- Free SSL
- Object caching where available
- CDN integration
- Adequate server resources
WordPress itself notes that hosting configuration, software versions, images, plugins, and server resources can all influence performance. (WordPress Developer Resources)
Free Optimization Tip
If you already have hosting, do not immediately move your website.
First optimize:
- Caching
- Images
- Plugins
- Theme
- CSS
- JavaScript
- Database
- CDN
Then test again.
If the server response remains slow, hosting may be the bottleneck.
Step 3: Install One Caching Plugin
Caching is usually one of the easiest ways to improve WordPress performance.
WordPress recommends caching as one of the most effective performance improvements because cached pages can be served as static files rather than requiring WordPress to generate every page request from scratch. (WordPress Developer Resources)
Free options include plugins such as:
- LiteSpeed Cache, particularly when your host uses LiteSpeed
- WP Super Cache
- Cache Enabler
- W3 Total Cache
Choose one primary caching system.
Do not install several caching plugins and activate overlapping optimization features. Multiple caching systems can conflict and create unexpected behavior.
Basic Cache Settings
Depending on the plugin, enable options such as:
- Page cache
- Browser cache
- Cache preload
- GZIP/Brotli compression where supported
- HTML minification
- CSS minification
- JavaScript optimization
Test your website after changing settings.
Step 4: Optimize Your Images
Images are one of the most common reasons WordPress websites become slow.
A 2 MB image can consume much more bandwidth than necessary, especially on mobile connections.
Before uploading images:
- Resize them to the dimensions actually required
- Compress them
- Use WebP or AVIF where appropriate
- Avoid unnecessarily large photographs
- Remove unused images from your media library
For example, if your content area displays an image at 800 pixels wide, there is usually little reason to upload a 4000-pixel-wide image.
Use Responsive Images
WordPress can generate multiple image sizes and use responsive image markup.
This helps browsers download a more appropriate image for the visitor’s screen.
Don’t Lazy-Load the Main Hero Image
Lazy loading is useful for images below the fold.
However, your primary above-the-fold image may be part of the LCP element. Delaying it can make LCP worse.
Therefore:
Lazy-load: Images lower on the page
Prioritize: The main visible/LCP image
This is one reason speed optimization should be tested page by page rather than blindly enabling every option.
Step 5: Convert Images to WebP or AVIF
Modern image formats can significantly reduce image file sizes.
Instead of uploading:
large-photo.jpg
you can often serve:
large-photo.webp
or:
large-photo.avif
The exact savings depend on the original image and compression settings.
You can use free image optimization tools or a WordPress plugin that supports modern formats.
The important rule is:
Do not sacrifice visible image quality just to make the file extremely small.
A well-compressed image that looks good is better than an overly compressed image with obvious artifacts.
Step 6: Remove Unnecessary WordPress Plugins
Plugins are useful, but every plugin adds potential processing, database queries, CSS, JavaScript, or external requests.
Go to:
WordPress Dashboard → Plugins → Installed Plugins
Look for plugins that:
- You no longer use
- Duplicate another plugin
- Add features nobody needs
- Load assets on every page
- Create unnecessary external requests
- Have been abandoned or poorly maintained
Deactivate plugins you don’t need, then delete them if they are genuinely unnecessary.
WordPress’s own optimization guidance specifically recommends reviewing and removing unnecessary plugins. (WordPress Developer Resources)
Don’t Obsess Over Plugin Count
Having 20 plugins does not automatically mean your website is slow.
One poorly optimized plugin can have a greater performance impact than several lightweight plugins.
Focus on what each plugin loads and does, not simply the number of plugins.
Step 7: Use a Lightweight Theme
Your WordPress theme controls a significant part of your site’s HTML, CSS, JavaScript, and visual structure.
A lightweight theme can make optimization easier.
Look for themes that:
- Generate clean HTML
- Avoid unnecessary animations
- Load minimal JavaScript
- Use optimized CSS
- Support responsive design
- Avoid excessive bundled features
If your website already has a heavily customized theme, don’t change themes solely because of a PageSpeed score.
Instead, test whether the theme is actually contributing to your performance problems.
Step 8: Reduce JavaScript
JavaScript can become one of the biggest performance problems on WordPress websites.
Common sources include:
- Analytics
- Advertising
- Social media widgets
- Sliders
- Popups
- Page builders
- Chat widgets
- Tracking scripts
- Marketing tools
- Embedded videos
You can improve performance by:
- Removing unnecessary scripts
- Deferring non-critical JavaScript
- Delaying third-party scripts
- Loading scripts only on pages that need them
- Removing unused plugins
Be Careful With JavaScript Optimization
Do not blindly combine or delay every JavaScript file.
Some scripts are essential for:
- Menus
- Forms
- Shopping carts
- Login systems
- Checkout
- Interactive elements
After optimization, test:
- Mobile menu
- Contact forms
- Search
- Login
- Checkout
- Buttons
- Popups
- Tracking
Step 9: Minify CSS and JavaScript
Minification removes unnecessary characters such as:
- Whitespace
- Comments
- Formatting characters
This can reduce file size.
Most modern caching/optimization plugins can perform basic CSS and JavaScript minification.
However, minification is not magic.
If a website loads 2 MB of unnecessary JavaScript, minifying it may still leave a large amount of unnecessary code.
The better strategy is:
Remove unnecessary code first → then minify what remains.
Step 10: Reduce Render-Blocking Resources
PageSpeed may report:
Eliminate render-blocking resources
This usually means important CSS or JavaScript is delaying the browser from displaying the page.
Potential solutions include:
- Critical CSS
- Defer JavaScript
- Delay non-critical JavaScript
- Remove unused CSS
- Inline small critical resources when appropriate
Be careful with aggressive CSS optimization because removing CSS that your theme or plugins actually require can break your design.
Always test after changing these settings.
Step 11: Use a Free CDN
A CDN, or Content Delivery Network, stores and delivers static website assets from geographically distributed servers.
A popular free option is Cloudflare.
A CDN can help deliver:
- Images
- CSS
- JavaScript
- Fonts
- Other static files
It can also provide additional caching and network optimization depending on the configuration.
The important thing is to avoid creating conflicting caching layers.
Your setup should have a clear strategy for:
Browser cache → CDN cache → WordPress/server cache → database
Step 12: Enable Browser Caching
Browser caching allows returning visitors to reuse files that were previously downloaded.
For example, your browser may cache:
- Logo
- CSS
- JavaScript
- Fonts
- Images
WordPress explains that browser caching can reduce repeated requests for files that have not changed. (WordPress Developer Resources)
A caching plugin or server configuration can often handle these settings automatically.
Step 13: Optimize Your Fonts
Fonts can significantly affect page loading.
Avoid loading many font families and weights.
For example, instead of loading:
- Roboto 300
- Roboto 400
- Roboto 500
- Roboto 600
- Roboto 700
- Roboto 800
- Roboto 900
consider whether you really need all of them.
Better Font Strategy
Use:
- One primary font
- One or two required weights
- System fonts when appropriate
- Locally hosted fonts where practical
Reducing font requests can improve the rendering process and reduce network activity.
Step 14: Optimize Your Homepage
The homepage is often the most important page on a website.
Remove unnecessary elements such as:
- Huge sliders
- Auto-playing videos
- Multiple popups
- Excessive animations
- Large background images
- Unnecessary widgets
- Social feeds
- Multiple tracking scripts
Keep the above-the-fold area simple.
A fast homepage might contain:
Logo → Navigation → Main heading → Short introduction → Optimized image → Primary call-to-action
You can add complexity lower on the page where it has less impact on initial rendering.
Step 15: Reduce Third-Party Scripts
Third-party scripts are often difficult to optimize because they are hosted outside your WordPress server.
Examples include:
- Google Analytics
- Advertising networks
- Facebook/Meta scripts
- Live chat
- Social widgets
- Affiliate tracking
- Embedded videos
- Heatmaps
Ask yourself:
Does this script provide enough value to justify its performance cost?
If not, remove it.
For necessary scripts, consider delaying them until after the main content becomes usable.
Step 16: Optimize YouTube and Video Embeds
Video embeds can add significant page weight.
Instead of loading a full video player immediately, consider using a lightweight preview image that loads the player only when the visitor interacts with it.
This is especially useful when a page contains several videos.
Avoid putting multiple autoplay videos near the top of a page.
Step 17: Clean Up Your WordPress Database
Over time, WordPress databases can accumulate unnecessary information.
Depending on your site, this may include:
- Post revisions
- Spam comments
- Trashed content
- Temporary data
- Unused metadata
Before performing database cleanup, create a backup.
Do not randomly delete database tables or records manually.
A database optimization plugin can simplify routine cleanup, but review what it will remove before running it.
Step 18: Enable Object Caching When Available
Object caching stores frequently requested database information so WordPress does not have to retrieve it repeatedly.
This can be particularly helpful for dynamic websites and busy WordPress installations.
WordPress explains that persistent object caching can reduce repeated database work and improve server response times such as TTFB. (WordPress Developer Resources)
If your hosting provider supports a persistent object cache such as Redis, ask whether it can be enabled.
Step 19: Improve TTFB
TTFB means Time to First Byte.
It measures how quickly the server begins responding to a request.
A slow TTFB can be caused by:
- Poor hosting
- No page caching
- Heavy WordPress processing
- Too many plugins
- Slow database queries
- Lack of object caching
- Poor server configuration
- High server load
Start with caching and plugin optimization.
If TTFB remains consistently high, the hosting environment may need improvement.
Step 20: Don’t Use Too Many Optimization Plugins
A common beginner mistake is installing:
- Cache plugin
- Image plugin
- CSS optimization plugin
- JavaScript optimization plugin
- Database plugin
- CDN plugin
- Another performance plugin
Then every plugin performs overlapping optimizations.
This can cause:
- Conflicts
- Broken layouts
- Duplicate caching
- Incorrect JavaScript behavior
- Difficult troubleshooting
A simpler setup is usually easier to maintain.
For example:
WordPress + lightweight theme + one caching/performance solution + image optimization + CDN
is often a better starting point than stacking many optimization plugins.
Step 21: Use PageSpeed Insights Correctly
After each major change, test your page again.
Don’t make 30 changes simultaneously.
A better workflow is:
Test 1
Record your baseline.
Test 2
Enable caching.
Test 3
Optimize images.
Test 4
Remove unnecessary plugins.
Test 5
Optimize CSS/JavaScript.
Test 6
Configure CDN.
Test 7
Optimize fonts and third-party scripts.
This makes it easier to identify which change actually improved your performance.
A Free 90+ WordPress Optimization Checklist
Use the following checklist before your final PageSpeed test:
- Test mobile performance
- Test desktop performance
- Record your original score
- Enable page caching
- Enable browser caching
- Compress images
- Convert images to WebP/AVIF
- Resize oversized images
- Don’t lazy-load the LCP image
- Lazy-load below-the-fold images
- Remove unnecessary plugins
- Use a lightweight theme
- Minify CSS
- Minify JavaScript
- Defer non-critical JavaScript
- Remove unused CSS where safe
- Reduce third-party scripts
- Optimize fonts
- Reduce font weights
- Optimize YouTube/video embeds
- Enable CDN
- Improve TTFB
- Enable object caching if available
- Clean unnecessary database data
- Test forms and menus after optimization
- Test your website on mobile
- Run PageSpeed Insights again
Example of a Free WordPress Speed Setup
A simple free setup might look like this:
WordPress
↓
Lightweight theme
↓
One caching/performance plugin
↓
Optimized WebP/AVIF images
↓
Cloudflare CDN
↓
Optimized fonts
↓
Minimal third-party scripts
This doesn’t guarantee a 90+ score, because the final result depends on the theme, hosting, page structure, plugins, content, and third-party services.
But it gives you a strong foundation.
What If Your Score Is Still Below 90?
Don’t panic.
A PageSpeed score can vary between tests because the testing environment and page conditions can change.
Look at the actual recommendations.
For example:
Score: 65
Focus on:
- Hosting
- TTFB
- Caching
- Large images
- JavaScript
- CSS
- Third-party scripts
Score: 80
Focus on:
- LCP
- Unused JavaScript
- Unused CSS
- Fonts
- Image delivery
- Render-blocking resources
Score: 90+
Focus on:
- Core Web Vitals
- Remaining LCP problems
- INP
- CLS
- Third-party scripts
- Real-user performance
The last 5–10 points can require considerably more work than moving from 50 to 80.(Speed Up WordPress)
Common WordPress Speed Mistakes to Avoid
Mistake 1: Chasing 100/100
A perfect lab score isn’t the same as a perfect user experience.
Focus on fast, stable, responsive pages.
Mistake 2: Installing Five Cache Plugins
Use one primary caching system.
Mistake 3: Lazy-Loading Everything
Your main LCP image may need to load immediately.
Mistake 4: Uploading Huge Images
Don’t upload a 5000-pixel image when the page only displays it at 800 pixels.
Mistake 5: Ignoring Mobile
Mobile users frequently experience slower networks and less powerful devices.
Always test mobile separately.
Mistake 6: Keeping Unused Plugins
Deactivate and remove plugins you no longer need.
Mistake 7: Adding Too Many Tracking Tools
Every third-party service can add requests and JavaScript.
Mistake 8: Changing Everything at Once
Make controlled changes and test after each major optimization.
Does a 90+ PageSpeed Score Guarantee Higher Google Rankings?
No.
PageSpeed is a performance measurement, not a guaranteed ranking score.
Google’s Core Web Vitals are important, but search visibility depends on many factors, including:
- Content quality
- Search intent
- Relevance
- Links
- Technical SEO
- Site architecture
- Crawlability
- User experience
- Authority
- Competition
Therefore, don’t sacrifice useful content or website functionality simply to increase a lab score by a few points.
How Long Does WordPress Optimization Take?
For a basic blog, you can often implement the most important improvements in a few hours.
A more complicated website may take much longer.
Simple Blog
Focus on:
- Cache
- Images
- Theme
- Plugins
- Fonts
- CDN
Business Website
Also review:
- Third-party scripts
- Forms
- Page builders
- Landing pages
- Tracking
- Embedded media
WooCommerce Store
You may additionally need to consider:
- Cart fragments
- Checkout scripts
- Product filters
- Dynamic pages
- Database queries
- Logged-in users
- Object caching
Final Strategy for Getting 90+ for Free
The most effective approach is not one secret plugin.
It is a combination of small improvements.
Start with the biggest performance problems:
1. Improve hosting/server response
2. Enable page caching
3. Optimize images
4. Remove unnecessary plugins
5. Use a lightweight theme
6. Reduce JavaScript
7. Optimize CSS
8. Reduce third-party scripts
9. Optimize fonts
10. Use a CDN
11. Improve TTFB
12. Test Core Web Vitals
WordPress’s official performance documentation similarly identifies caching, hosting, plugins, optimized content, browser caching, object caching, and other server-side techniques as important parts of WordPress performance optimization. (WordPress Developer Resources)
Conclusion
Getting a 90+ PageSpeed score in WordPress for free is possible for many websites, but it isn’t guaranteed for every site. Your results depend on your hosting, theme, plugins, page design, images, scripts, and content.
The best strategy is to optimize the things that actually slow your website rather than blindly applying every performance setting.
Start with caching, image optimization, plugin cleanup, lightweight design, JavaScript reduction, CDN delivery, and Core Web Vitals.
Most importantly, measure before and after each major change. A slightly lower PageSpeed score with excellent real-world performance can be more valuable than a perfect-looking lab score that creates a broken or frustrating website.