

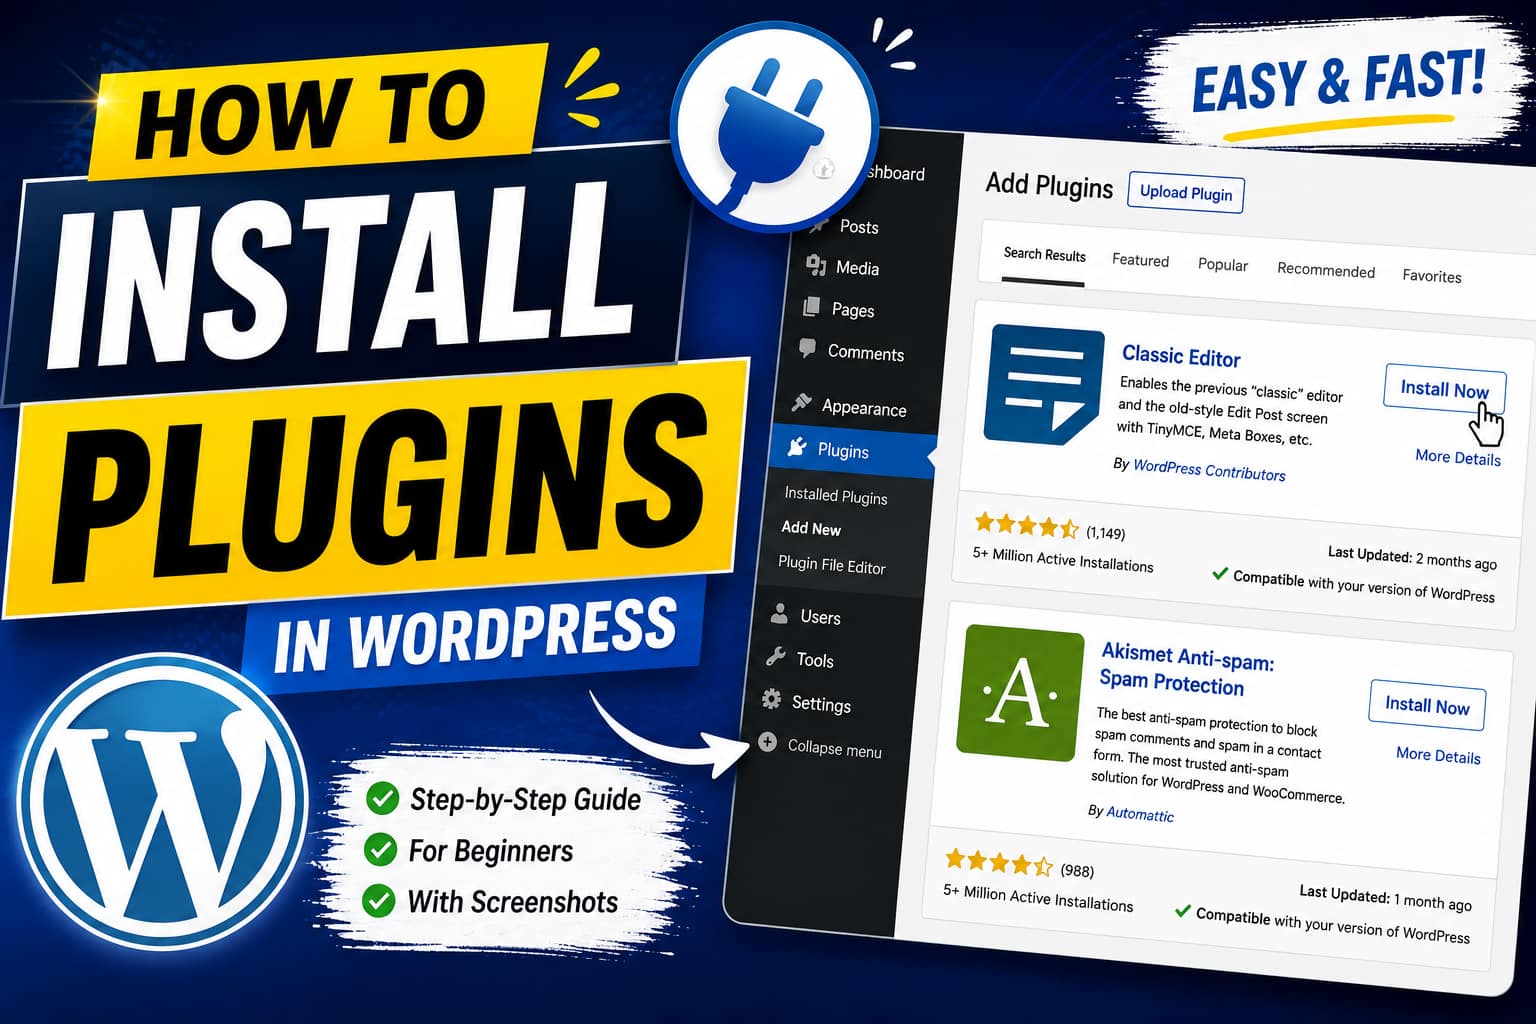
wordpress plugin installation
WordPress plugins allow you to add new features and functionality to your website without writing code. Whether you want to improve SEO, increase website speed, add contact forms, create online stores, or enhance security, plugins make it easy.
In this guide, you’ll learn how to install plugins in WordPress using three different methods. This tutorial is beginner-friendly and includes screenshot placeholders so you can easily create your own illustrated guide.
What is a WordPress Plugin?

A WordPress plugin is a software extension that adds extra features to your website. There are over 60,000 free plugins available in the WordPress Plugin Directory, along with thousands of premium plugins.
Popular plugins include:
- Yoast SEO
- Rank Math SEO
- Elementor
- Contact Form 7
- WooCommerce
- WPForms
- Wordfence Security
- LiteSpeed Cache
- UpdraftPlus Backup
Before You Install a Plugin
Before installing any plugin, make sure:
- You have access to your WordPress Admin Dashboard.
- Your WordPress version is up to date.
- You have a recent website backup.
- Install plugins only from trusted developers.
Method 1: Install a Plugin from the WordPress Plugin Directory (Recommended)
This is the easiest method.
Step 1: Log in to WordPress
Visit:
https://yourdomain.com/wp-adminEnter your username and password.
Screenshot Placeholder
Screenshot 1: WordPress Login Page
Step 2: Open the Plugins Menu
From the left sidebar click:
Plugins → Add New Plugin
Screenshot Placeholder
Screenshot 2: Plugins → Add New Plugin
Step 3: Search for a Plugin
Use the search box in the upper-right corner.
Example:
Elementoror
Rank Math SEOWordPress will automatically display matching plugins.
Screenshot Placeholder
Screenshot 3: Searching for a Plugin
Step 4: Click Install Now
Find the plugin you want.
Click:
Install Now
WordPress will download and install it automatically.
Screenshot Placeholder
Screenshot 4: Install Now Button
Step 5: Activate the Plugin
Once installed, the button changes to:
Activate
Click it.
The plugin is now active.
Screenshot Placeholder
Screenshot 5: Activate Plugin
Method 2: Upload a Plugin ZIP File
Premium plugins usually come as ZIP files.
Step 1: Download the Plugin ZIP
Download the plugin from the developer’s website.
Do not unzip the file.
Example:
plugin-name.zipStep 2: Go to Plugins
Open:
Plugins → Add New Plugin
Then click:
Upload Plugin
Screenshot Placeholder
Screenshot 6: Upload Plugin Button
Step 3: Choose ZIP File
Click:
Choose File
Select the ZIP file.
Screenshot Placeholder
Screenshot 7: Select ZIP File
Step 4: Install
Click
Install Now
Wait until WordPress uploads the plugin.
Screenshot Placeholder
Screenshot 8: Installing ZIP Plugin
Step 5: Activate
Click
Activate Plugin
The premium plugin is now installed.
Screenshot Placeholder
Screenshot 9: Plugin Activated
Method 3: Install a Plugin Using FTP
This method is useful if:
- Installation fails
- Upload limit is exceeded
- Plugin is too large
Step 1: Extract the ZIP File
Extract:
plugin-name.zipYou will get a folder like:
plugin-name/Step 2: Open FTP Software
Use:
- FileZilla
- WinSCP
- Cyberduck
Connect to your website.
Step 3: Navigate to Plugins Folder
Go to:
public_html
    └── wp-content
          └── plugins
Step 4: Upload the Plugin Folder
Upload:
plugin-nameinto
wp-content/plugins/Screenshot Placeholder
Screenshot 10: Upload Plugin via FTP
Step 5: Activate
Return to:
Plugins → Installed Plugins
Click
Activate
Done!
How to Update Plugins
Updating plugins keeps your website secure and compatible.
Go to:
Dashboard → Updatesor
PluginsIf an update is available:
Click
Update Now
Screenshot Placeholder
Screenshot 11: Update Plugin
How to Delete a Plugin
If you no longer need a plugin:
- Go to Plugins
- Deactivate it
- Click Delete
Screenshot Placeholder
Screenshot 12: Delete Plugin
Best Practices Before Installing Plugins
Follow these tips:
- Install only trusted plugins.
- Read user reviews.
- Check compatibility with your WordPress version.
- Avoid installing too many plugins.
- Remove unused plugins.
- Keep plugins updated.
- Create backups regularly.
- Test new plugins on a staging site if possible.
Common Plugin Installation Errors
1. Destination Folder Already Exists
Delete the old plugin before uploading again.
2. Installation Failed
Possible causes:
- Low server memory
- Corrupted ZIP file
- File permission issues
3. White Screen After Activation
Deactivate the plugin via FTP or File Manager and check for plugin conflicts.
4. Plugin Not Showing
Try:
- Refreshing the dashboard
- Clearing cache
- Checking user permissions
Recommended Plugins for Every WordPress Website
| Plugin | Purpose |
|---|---|
| Rank Math SEO | SEO Optimization |
| Elementor | Page Builder |
| WPForms | Contact Forms |
| LiteSpeed Cache | Speed Optimization |
| Wordfence Security | Website Security |
| UpdraftPlus | Website Backup |
| Smush | Image Optimization |
| WooCommerce | Online Store |
Frequently Asked Questions (FAQs)
Can I install plugins on WordPress.com?
Only users on plans that support plugins (such as Business or Commerce) can install custom plugins. Self-hosted WordPress.org sites allow plugin installation by default.
Are WordPress plugins free?
Many plugins are free, while others offer premium features through paid versions.
How many plugins can I install?
There is no fixed limit. Focus on installing well-coded plugins you actually need to maintain performance and security.
Can I uninstall a plugin later?
Yes. Deactivate it first, then delete it from the Plugins page.
Will plugins slow down my website?
Well-coded plugins generally have minimal impact, but installing too many or poorly optimized plugins can reduce performance.
Conclusion
Installing WordPress plugins is one of the easiest ways to extend your website’s functionality. Whether you’re using the built-in plugin directory, uploading a ZIP file, or installing via FTP, WordPress makes the process straightforward. Always choose reputable plugins, keep them updated, and remove those you no longer use to ensure your site remains secure and performs well.